15 DIY Chic Wall Organizer with a Feminine Touch Step by Step Guide
DIY Chic Wall Organizer complete step-by-step guide to creating stylish, beautiful, and practical wall organizers with a soft feminine charm. If your desk is messy, your makeup is everywhere, or your notes are lost, don’t worry. We are about to fix that in a creative and fun way.
Wall organizers are not just for storage. They can change the whole look of your room. Think of them like jewelry for your walls — pretty but useful at the same time.
Introduction to DIY Wall Organizers
Wall organizers help you save space and reduce clutter. Instead of putting everything on your desk or dresser, you move it to the wall. This makes your room feel bigger and cleaner.
But why stop at simple storage? Why not make it chic and feminine too? Soft colors, flowers, gold touches, lace, and pastel shades can turn boring storage into something beautiful. It’s like turning a plain cake into a decorated one — same base, but much more exciting.
DIY projects also save money. You can create something unique without spending too much. And the best part? You can match it with your own style.
Check it : 15 Cozy Aesthetic Fairy Lights Bedroom Ideas You Will Love
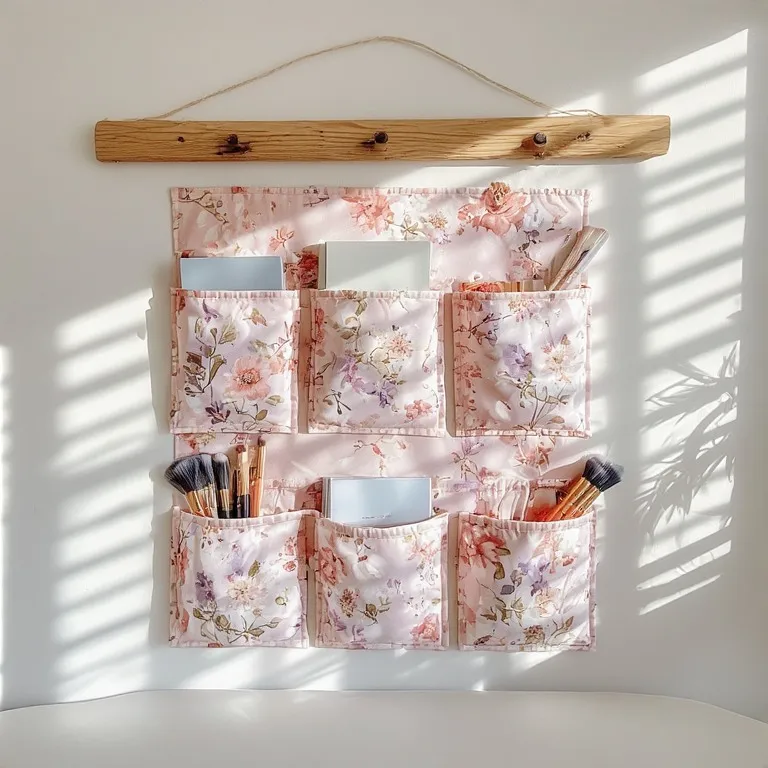
1. Floral Fabric Pocket Organizer
You will need floral fabric, a wooden dowel, thread, needle (or sewing machine), scissors, and wall hooks. Choose soft colors like blush pink, lavender, or baby blue for that feminine touch.
Floral prints instantly give a soft and cozy feeling. It feels warm and welcoming, like spring inside your room.
Step-by-Step Instructions
First, cut your fabric into a large rectangle. Then sew small pockets onto it. Make sure the pockets are strong enough to hold items like notebooks or makeup.
Fold the top edge over the wooden dowel and sew it closed. Hang it on the wall using hooks.
Simple, right? But the result looks like something from a cute boutique.
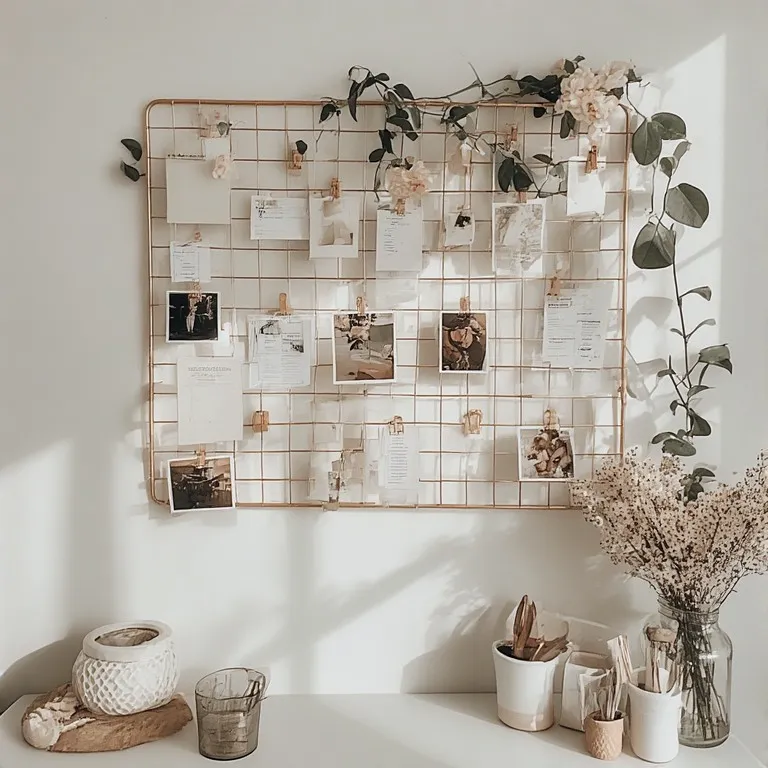
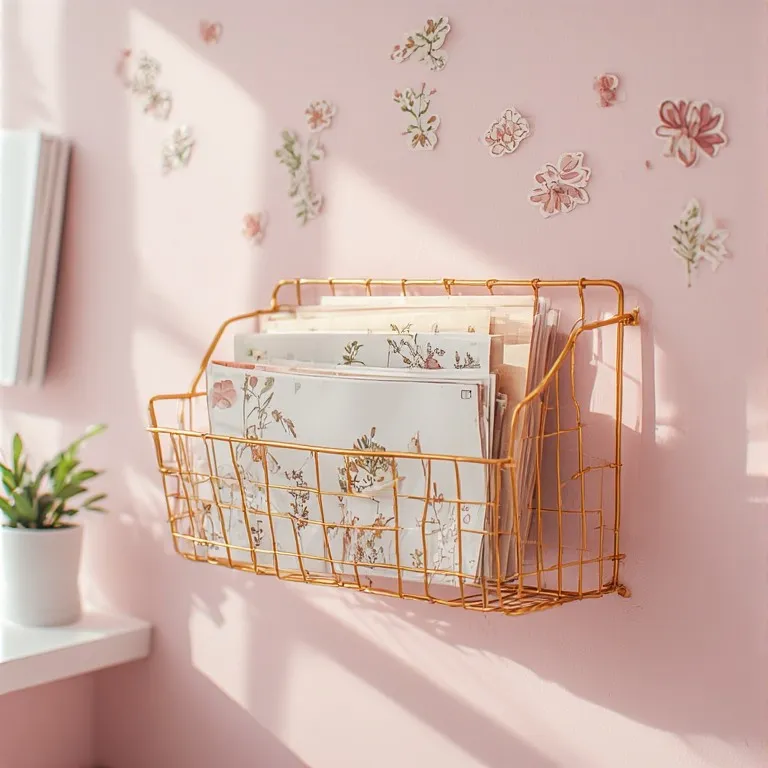
2. Gold Wire Grid Organizer
Materials Needed
You need a wire grid panel, gold spray paint, small clips, and wall screws.
Gold adds elegance. It feels classy but not too loud.
Step-by-Step Instructions
Spray paint the grid gold and let it dry completely. Mount it securely on the wall. Use cute clips to hang photos, notes, or jewelry.
You can even add fake flowers to the corners. It turns into a mini inspiration board.
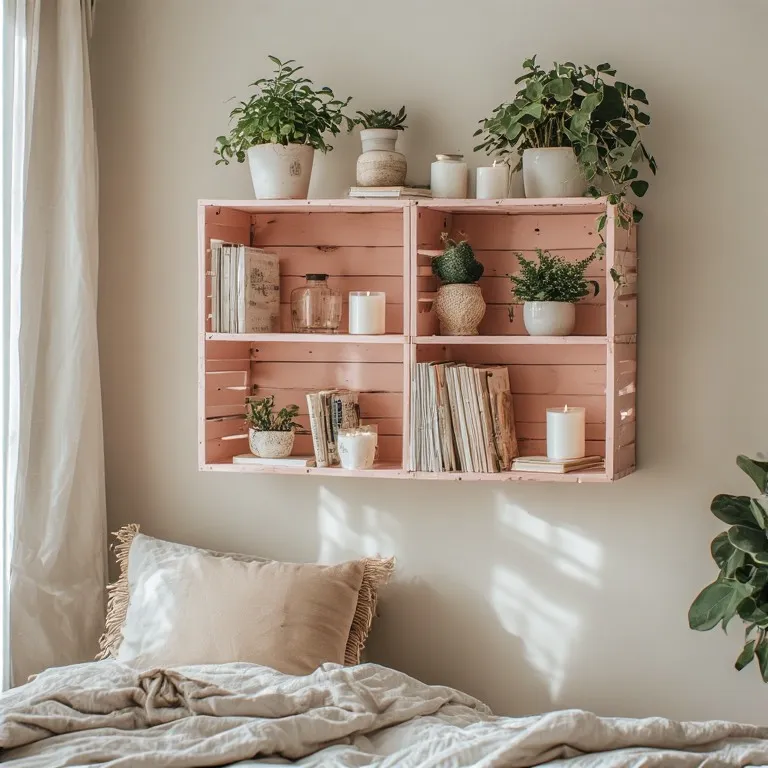
3. Pink Wooden Crate Wall Storage
Materials Needed
Wooden crates, pastel pink paint, screws, drill.
Wood gives a rustic look, and pink makes it soft and sweet.
Step-by-Step Instructions
Paint the crate and let it dry. Attach it firmly to the wall. You can place books, candles, or small plants inside.
It’s like giving your wall a cute little box shelf.
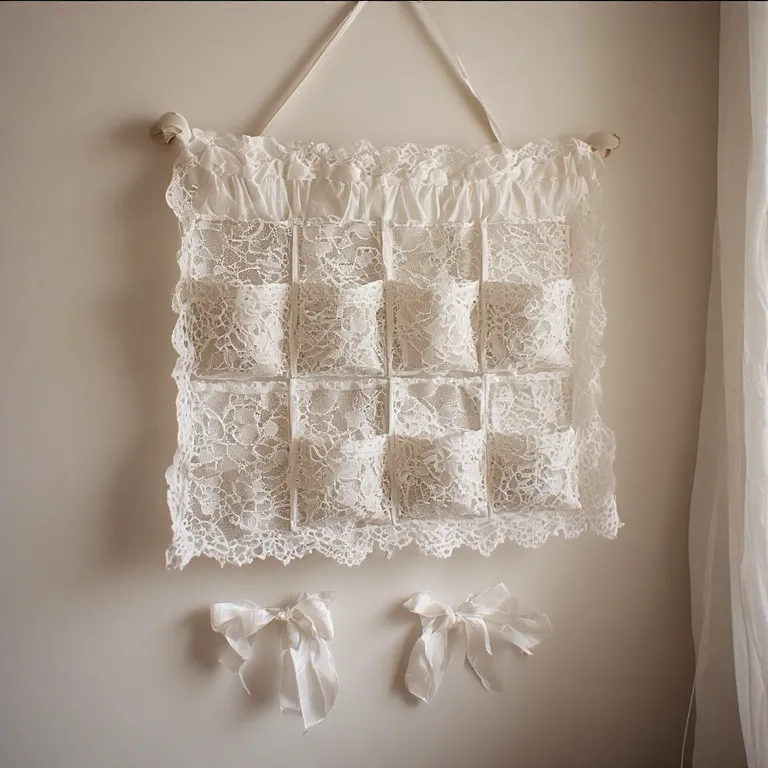
4. Lace Hanging Organizer
Materials Needed
Lace fabric, ribbon, wooden stick.
Lace gives a soft, romantic feeling.
Step-by-Step Instructions
Sew pockets onto lace fabric. Attach ribbon to hang it. Place lightweight items inside.
It looks delicate but works well for small accessories.
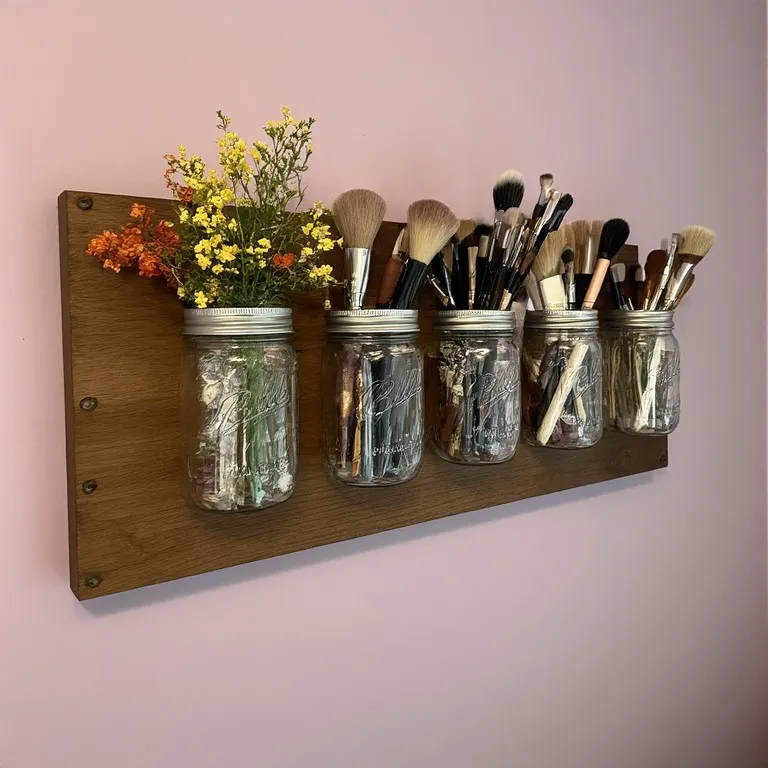
5. Mason Jar Wall Holder
Materials Needed
Mason jars, wooden board, metal clamps, screws.
Glass jars look clean and simple.
Step-by-Step Instructions
Attach metal clamps to the wooden board. Slide jars into clamps. Mount the board on the wall.
Perfect for brushes, pens, or flowers.
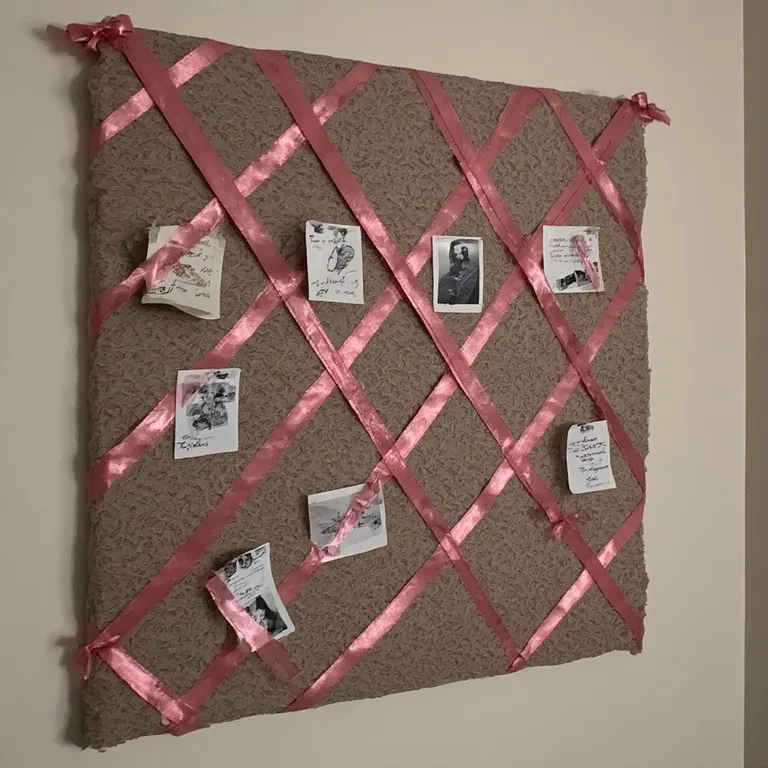
6. Ribbon and Clip Memo Board
Materials Needed
You will need a cork board or foam board, soft fabric (like velvet or cotton), ribbons, small decorative clips or push pins, glue gun, and scissors. Choose soft colors like blush pink, beige, or light grey. Satin ribbons work beautifully because they shine softly under the light.
This project is perfect if you love pinning notes, photos, or sweet quotes. It feels personal. It feels warm. And honestly, it feels like your own little inspiration corner on the wall.
Step-by-Step Instructions
First, wrap your board with fabric and glue it tightly at the back. Make sure the front is smooth with no wrinkles. Next, place ribbons across the board diagonally to create a diamond pattern. Glue them securely at the back.
Now, add small bows where the ribbons cross for extra charm. Use clips or pins to attach your photos and notes. Hang it on the wall.
It’s simple, but it turns plain notes into something pretty and special.
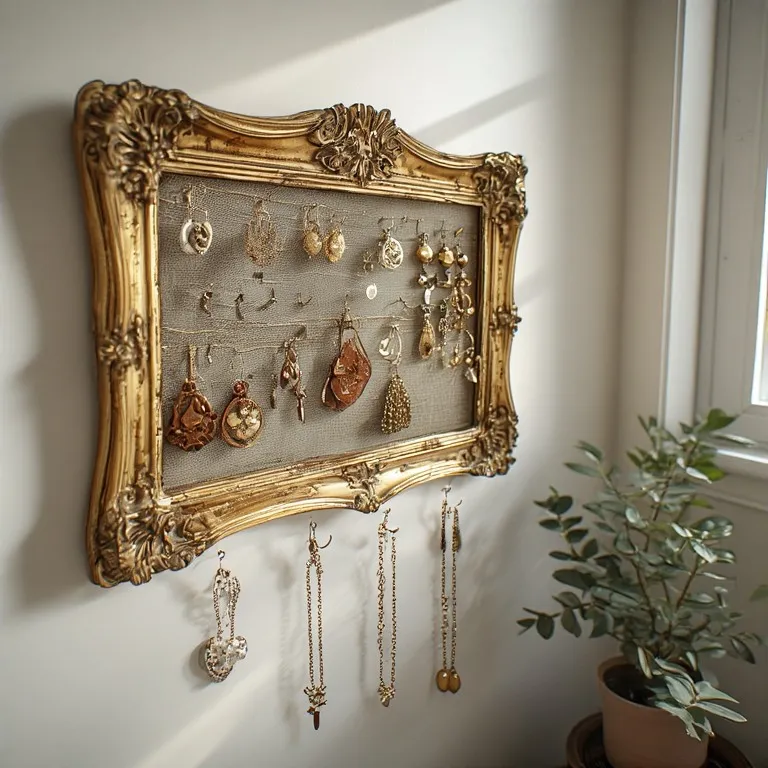
7. Vintage Frame Jewelry Organizer
Materials Needed
You need an old picture frame, chicken wire or mesh, staple gun, paint (white or gold works best), and wall hooks.
Old frames have character. They tell a story. When you turn them into a jewelry organizer, it feels elegant and classy.
Step-by-Step Instructions
Remove the glass from the frame. Paint it if needed and let it dry. Cut the mesh to fit inside the frame and staple it tightly at the back.
Hang the frame on your wall and start placing earrings through the mesh. Add small hooks at the bottom for necklaces.
Now your jewelry is not hiding in a box. It becomes part of your wall decor.
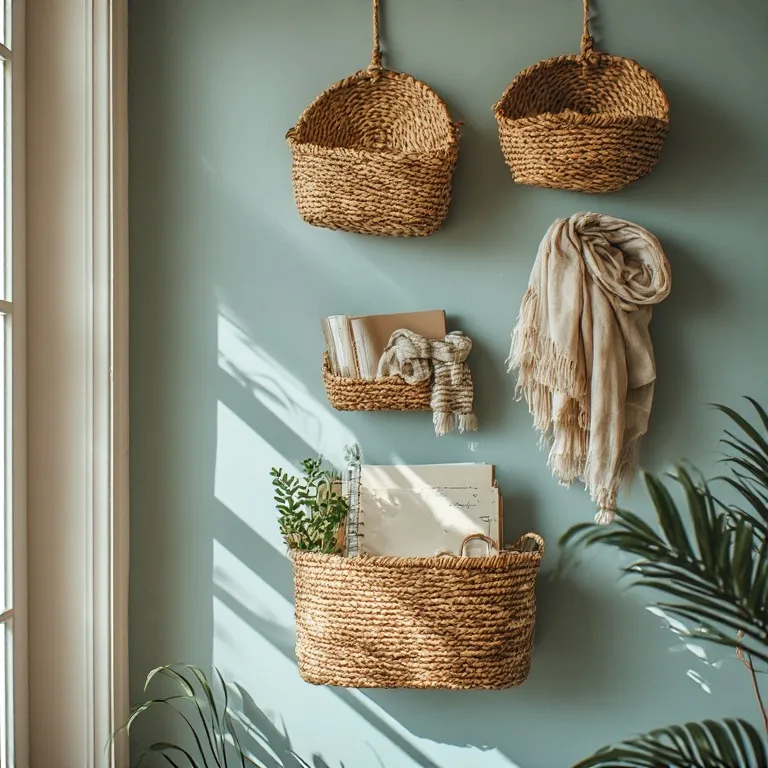
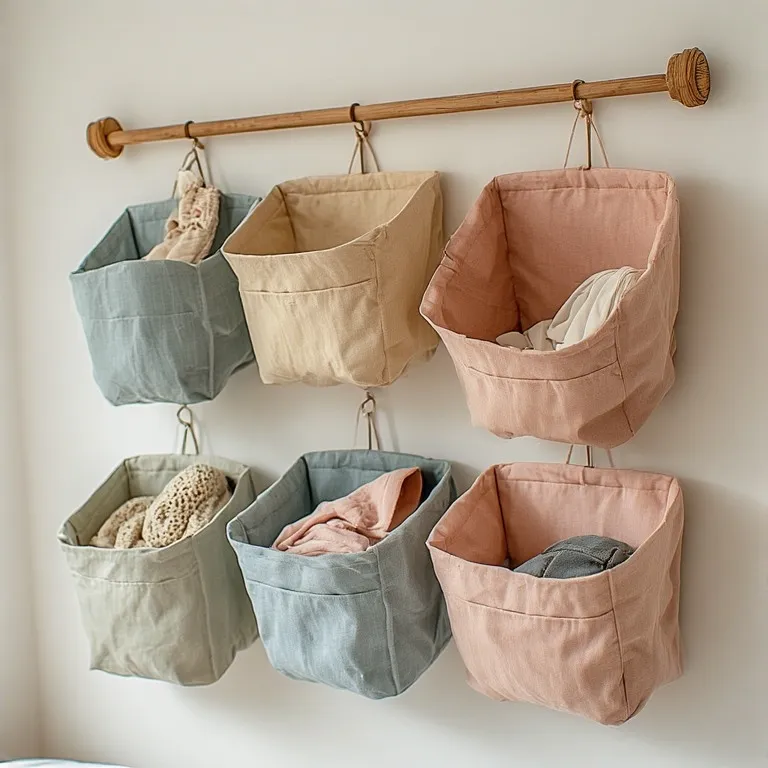
8. Hanging Basket Organizer
Materials Needed
You will need small wire or woven baskets, screws, wall anchors, and possibly spray paint in soft pastel tones.
Baskets bring texture. Texture makes a room feel alive. It’s like adding layers to an outfit.
Step-by-Step Instructions
If you want a softer look, spray paint the baskets in pastel colors and let them dry. Mount them securely on the wall.
Use them to store notebooks, small towels, craft supplies, or even light scarves. They are practical and stylish at the same time.
It feels organized but not stiff. Clean but cozy.
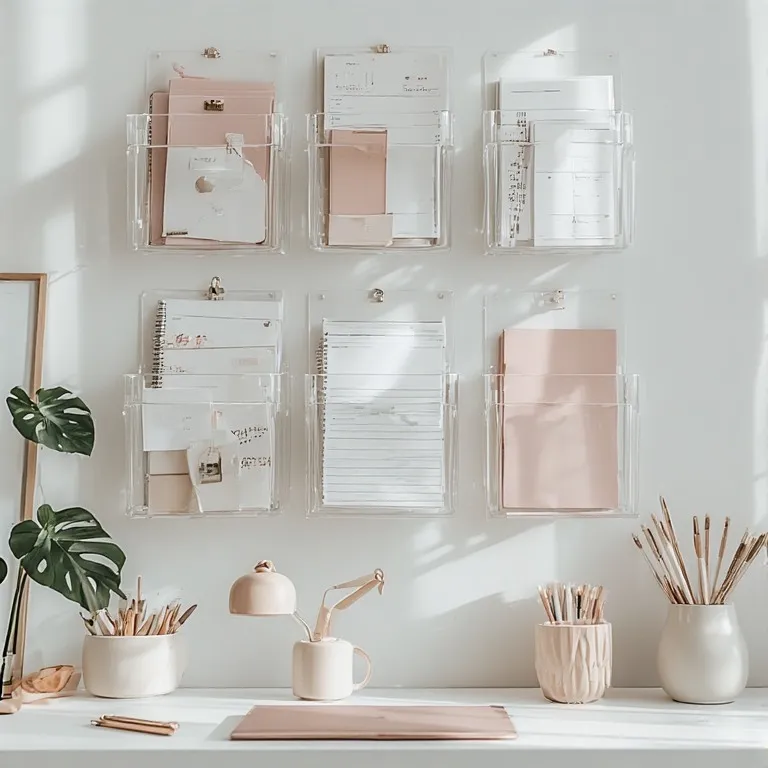
9. Acrylic Wall Pocket Organizer
Materials Needed
Clear acrylic wall pockets, screws or strong adhesive hooks, small labels.
Acrylic gives a clean and modern look. It feels light and simple, like fresh air in your room.
Step-by-Step Instructions
Attach the acrylic pockets evenly on your wall. Make sure they are straight. Add small cute labels in soft fonts.
These are perfect for papers, planners, or mail. Because they are clear, you can see everything easily.
It keeps your wall organized without making it look crowded.
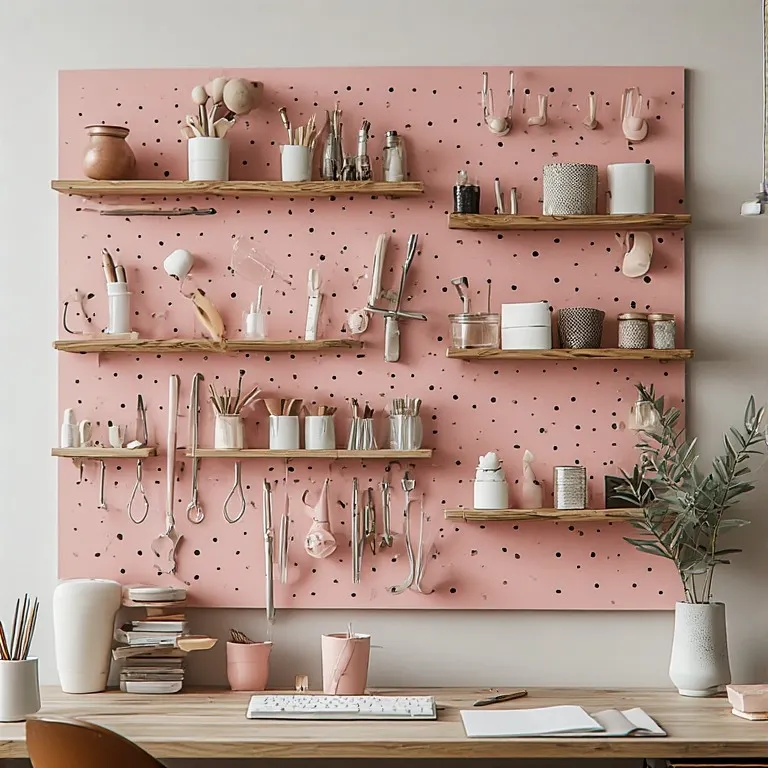
10. Pegboard with Pastel Touch
Materials Needed
Pegboard, pastel paint, hooks, small shelves, drill.
Pegboards are super useful. But plain brown can look boring. Adding pastel paint changes everything.
Step-by-Step Instructions
Paint the pegboard in your favorite soft shade. Let it dry fully. Mount it on the wall securely.
Add hooks, mini shelves, and small containers. Arrange them the way you like. You can change the layout anytime.
It’s flexible, fun, and perfect for creative minds.
11. Wall-Mounted File Holder Makeover
Materials Needed
Metal or wooden wall file holder, spray paint, decorative stickers.
Sometimes you don’t need to build something new. Just upgrade what you already have.
Step-by-Step Instructions
Spray paint the file holder in gold, white, or blush pink. Let it dry completely.
Add small floral stickers or subtle patterns. Mount it back on the wall.
Now your boring file holder feels like part of your decor instead of office equipment.
12. Hanging Fabric Wall Bins
Materials Needed
Strong fabric, wooden rod, thread, sewing tools.
Fabric bins feel soft and homey. They are perfect for bedrooms or craft rooms.
Step-by-Step Instructions
Sew rectangular bins with reinforced bottoms. Attach them to a larger fabric backing. Slide a wooden rod through the top.
Hang it on the wall. Use it for small clothes, notebooks, or accessories.
It feels warm and cozy — like your wall is giving you a hug.
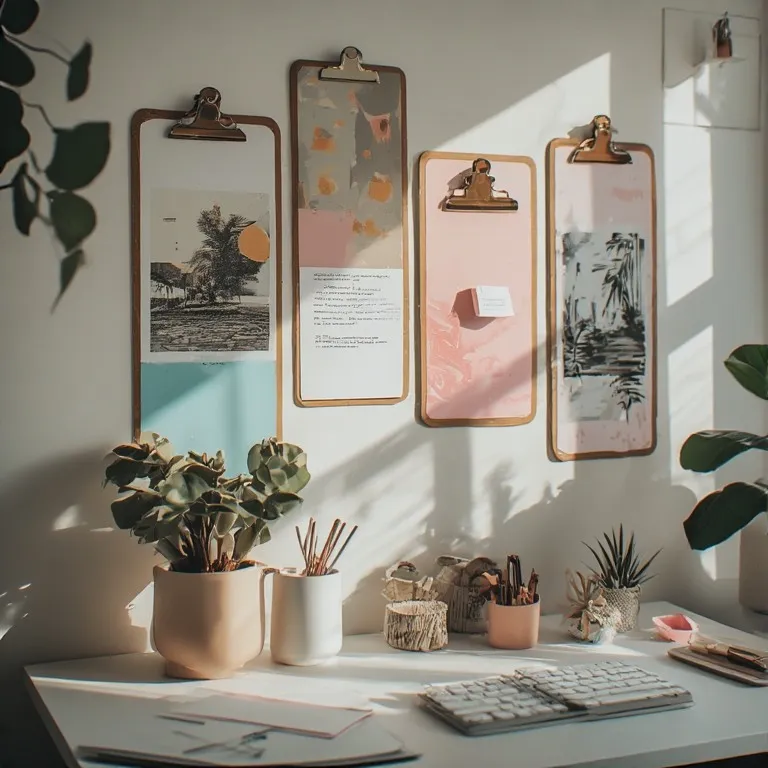
13. Decorative Clipboard Wall Organizer
Materials Needed
Clipboards, paint, screws.
Clipboards are simple, but when styled right, they look amazing.
Step-by-Step Instructions
Paint each clipboard in different pastel shades. Mount them in a neat row on the wall.
Clip notes, photos, art prints, or quotes. You can easily switch papers anytime.
It’s flexible and creative. Perfect for people who love changing things often.
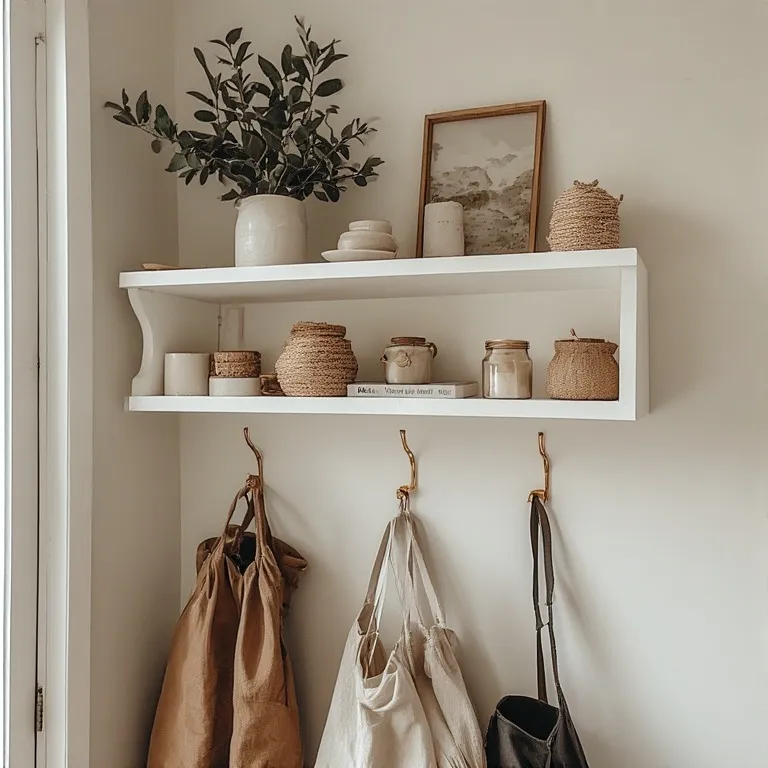
14. Floating Shelf with Hooks
Materials Needed
Floating shelf, wall anchors, small hooks, drill.
Shelves give extra storage space without taking floor space.
Step-by-Step Instructions
Install the floating shelf securely. Attach small hooks underneath.
Place decor items on top and hang bags, hats, or jewelry below.
It’s smart and stylish. Like getting two organizers in one.
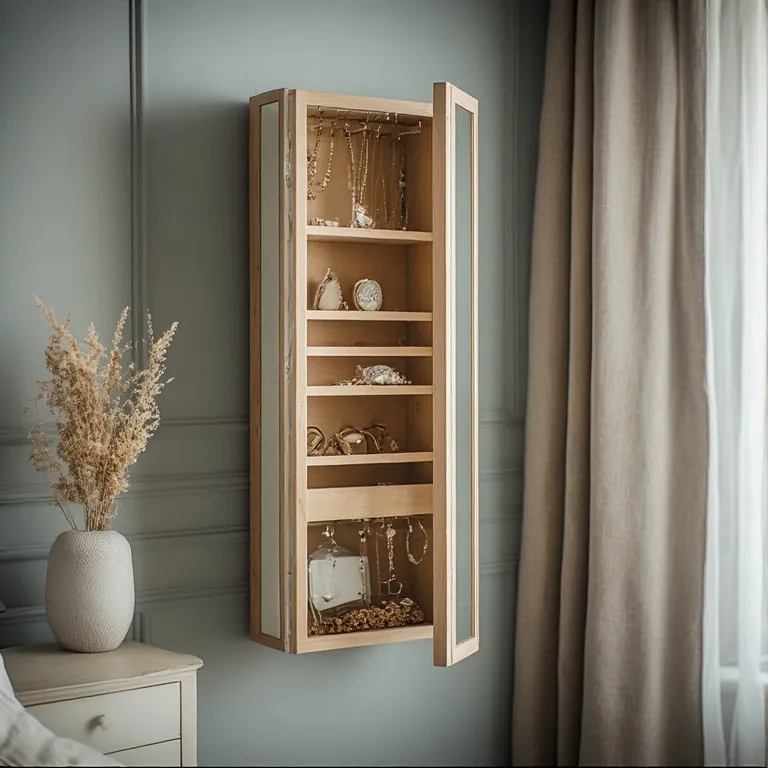
15. Mirror with Hidden Storage
Materials Needed
Wall mirror cabinet or DIY wooden box with mirror, hinges, screws.
This one is both pretty and practical. A mirror is already useful. Adding storage behind it makes it even better.
Step-by-Step Instructions
Install a mirror cabinet on the wall. Inside, add small hooks and shelves for jewelry or makeup.
When closed, it looks like a normal mirror. When opened, it reveals hidden storage.
It feels clever. Almost like a secret space just for you.
Styling Tips for a Feminine Chic Look
When decorating your organizers, think soft and balanced. Use pastel shades, gold accents, lace, and floral patterns. Do not mix too many colors. Keep it simple.
Add small plants or fairy lights around your organizers. This adds warmth and charm. Try mixing textures — wood, metal, and fabric together. It makes the space feel rich but not heavy.
Your wall should feel calm, not crowded. Remember, less is more.
Styling Tips for a Feminine Chic Look
Soft pastel colors always work well. Add gold details for elegance. Use flowers, lace, and ribbons for softness.
Mix textures like wood and metal. Add fairy lights for warmth.
Keep it balanced. Too much decoration can look messy. Think simple but pretty.
Conclusion
Creating your own chic wall organizer is fun and rewarding. You save money, reduce clutter, and add beauty to your room.
Storage does not have to be boring. It can be stylish, soft, and personal. With these 15 ideas, your walls will not only hold your things — they will tell your story.
Now it’s your turn. Which one will you try first?
FAQs
1. Are DIY wall organizers expensive?
No, most materials are affordable and easy to find.
2. Can I make these without power tools?
Yes, many designs only need glue and hooks.
3. What colors are best for a feminine look?
Pastels like pink, lavender, and cream work great.
4. Are wall organizers safe for rented homes?
Yes, you can use removable hooks to avoid damage.
5. How long does it take to complete one project?
Most projects take 1–3 hours.