

11 Easy DIY Guide for Beginners to Make Stunning Mosaic Garden Art
Creating mosaic art is one of the simplest ways to bring color, creativity, and personality into your outdoor space. This 11 Easy DIY Guide for Beginners to Make Stunning Mosaic Garden Art will help you learn the basics without feeling overwhelmed. Whether you’re decorating a pot, stepping stone, or garden wall, these beginner-friendly steps make the entire process enjoyable. With just a few tools, some patience, and your imagination, you can make 11 Easy DIY Guide for Beginners to Make Stunning Mosaic Garden Art beautiful designs that brighten up any garden.
1. Start by Gathering Simple Tools

You don’t need expensive supplies. Basic tools like tile nippers, adhesive, safety gloves, and grout are enough to begin your mosaic project.
2. Choose a Surface for Your Mosaic
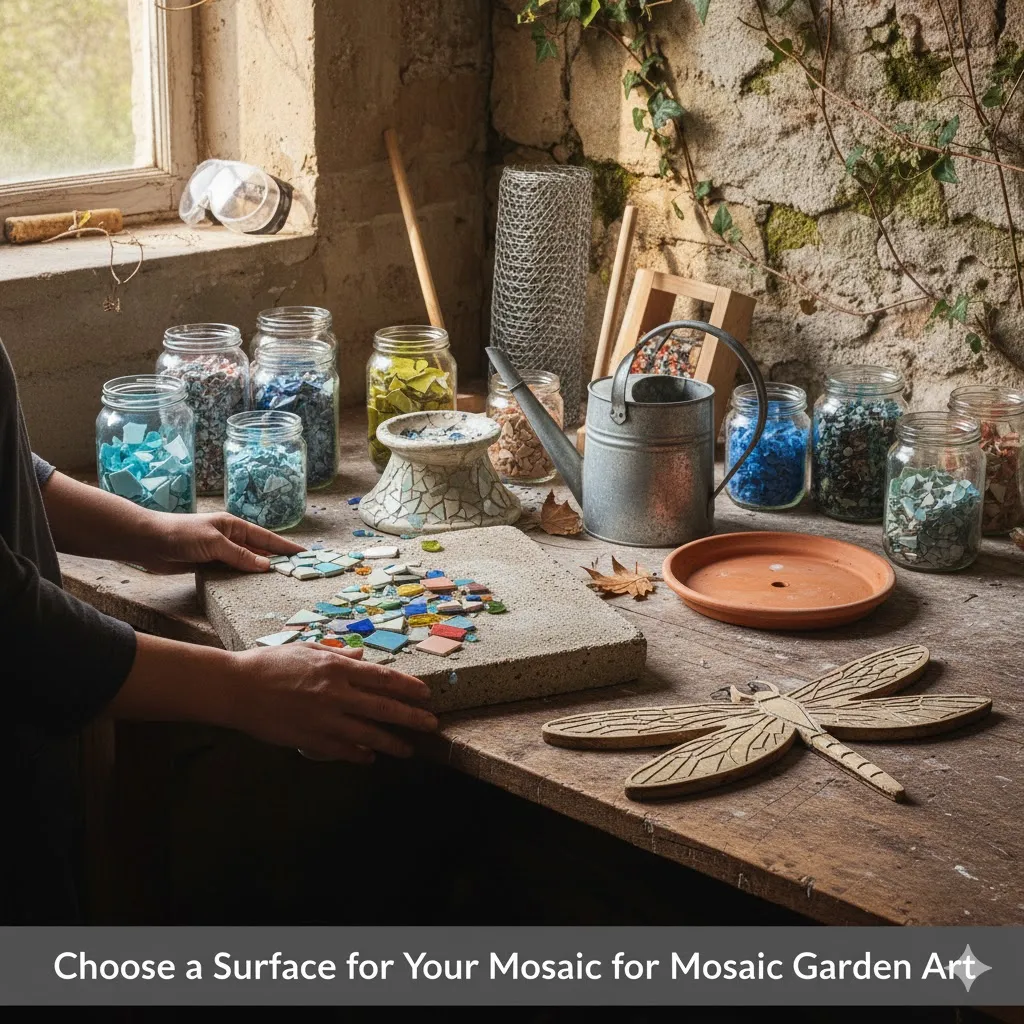
Pick something easy to work with—flower pots, stepping stones, trays, and wooden boards are great for beginners. Make sure the surface is clean and dry.
3. Select Mosaic Materials

You can use ceramic tiles, broken plates, glass gems, or pebbles. Mixing different textures helps your garden art stand out.
4. Sketch a Simple Design
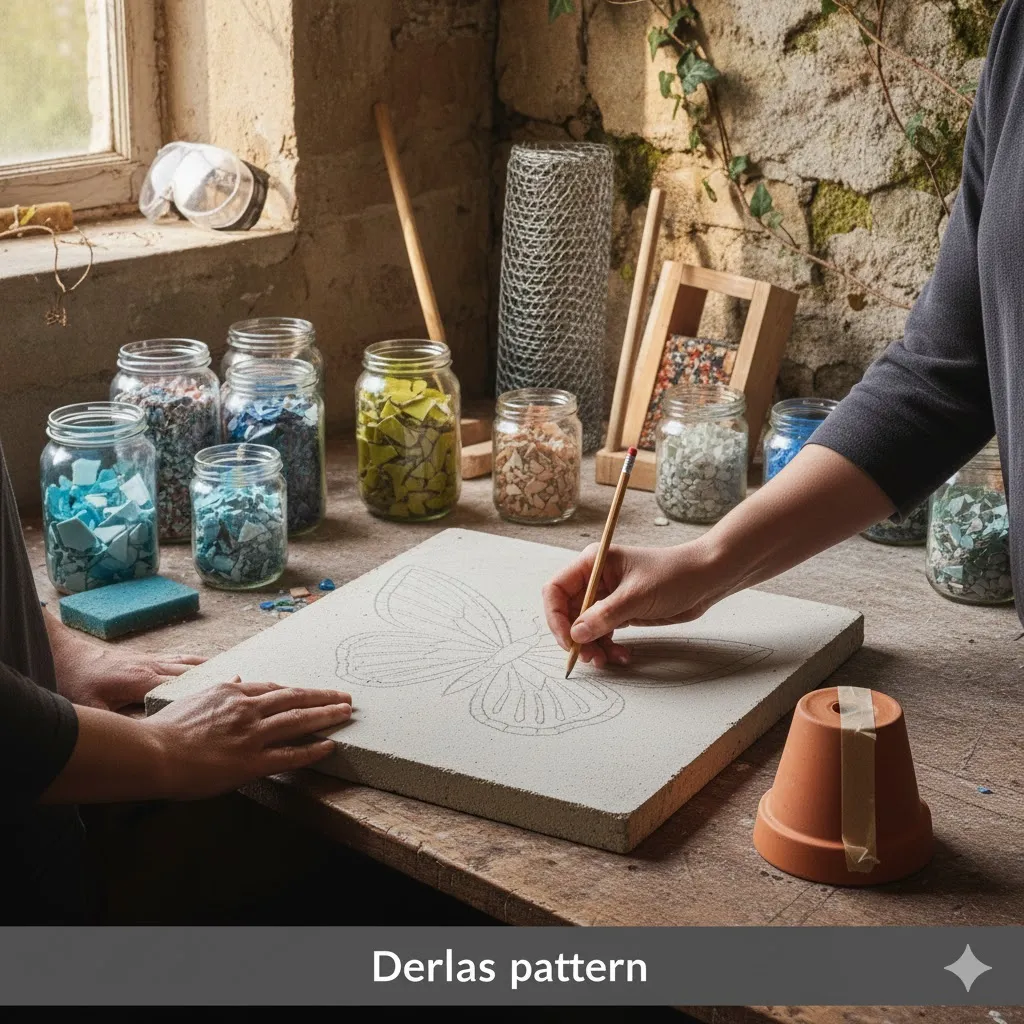
Before gluing anything down, draw your design on paper or lightly outline it on the surface. Keep it simple if you’re new to mosaic making.
5. Cut or Break the Tiles Safely
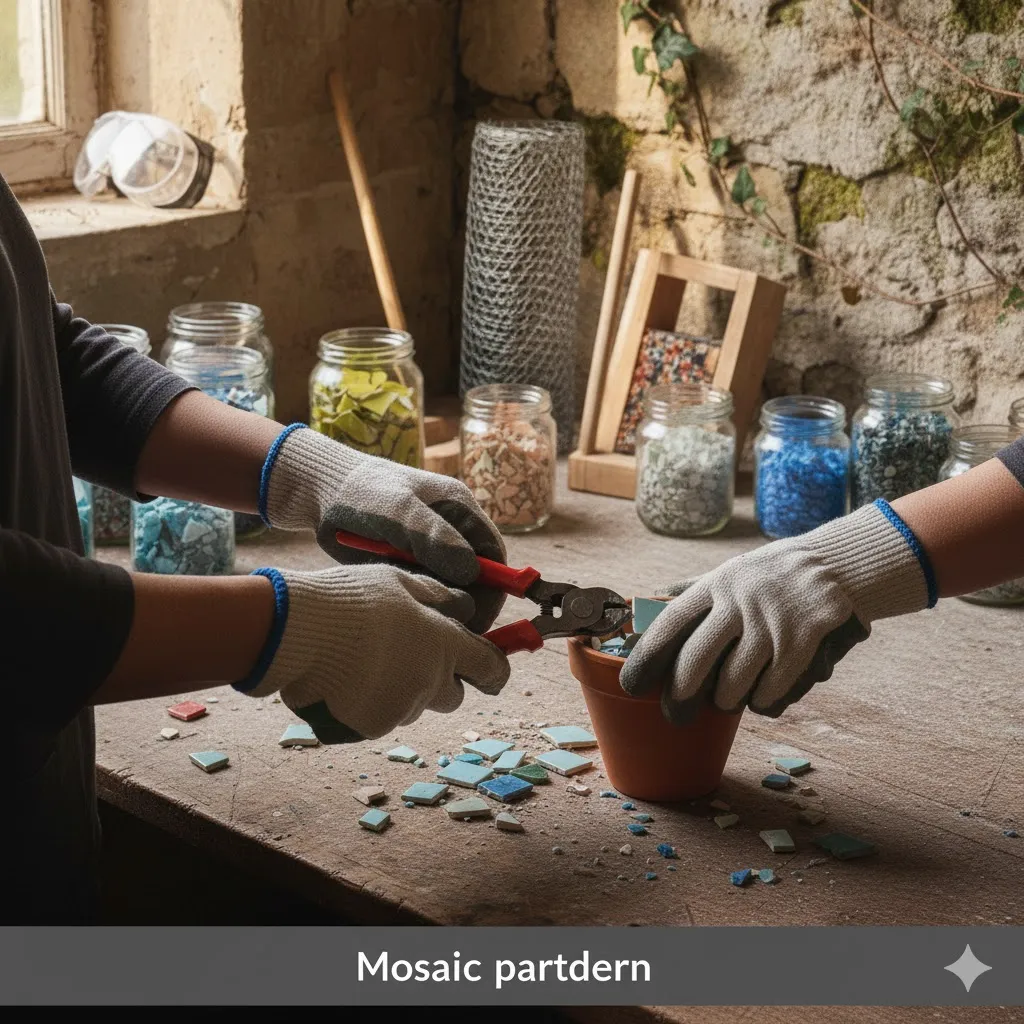
Use tile nippers to shape your pieces. Always wear safety glasses to protect your eyes from small tile fragments.
6. Apply the Adhesive
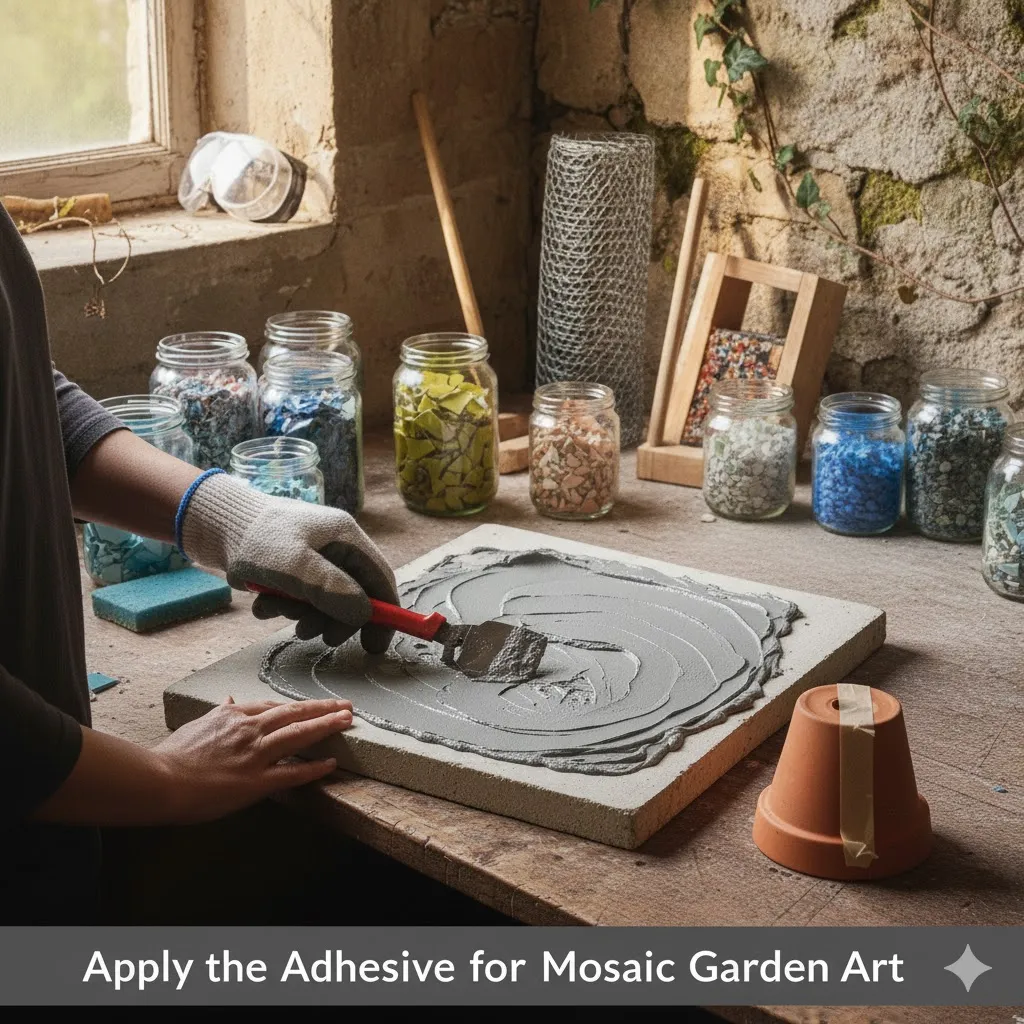
Spread a thin layer of mosaic adhesive or glue on your surface. Work in small sections so the glue doesn’t dry too fast.
7. Place Your Mosaic Pieces
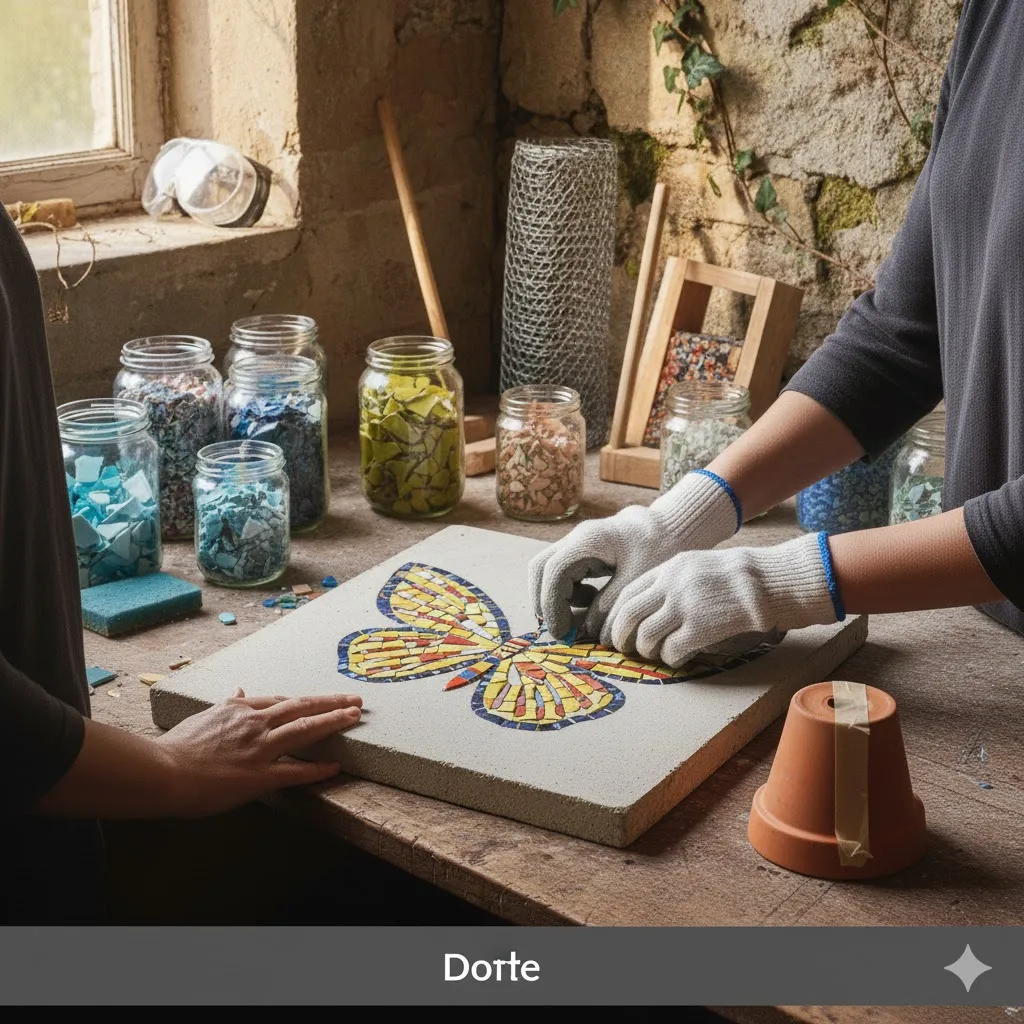
Gently press each tile piece into the adhesive. Leave small gaps between pieces so the grout can fill the spaces later.
8. Let Everything Dry
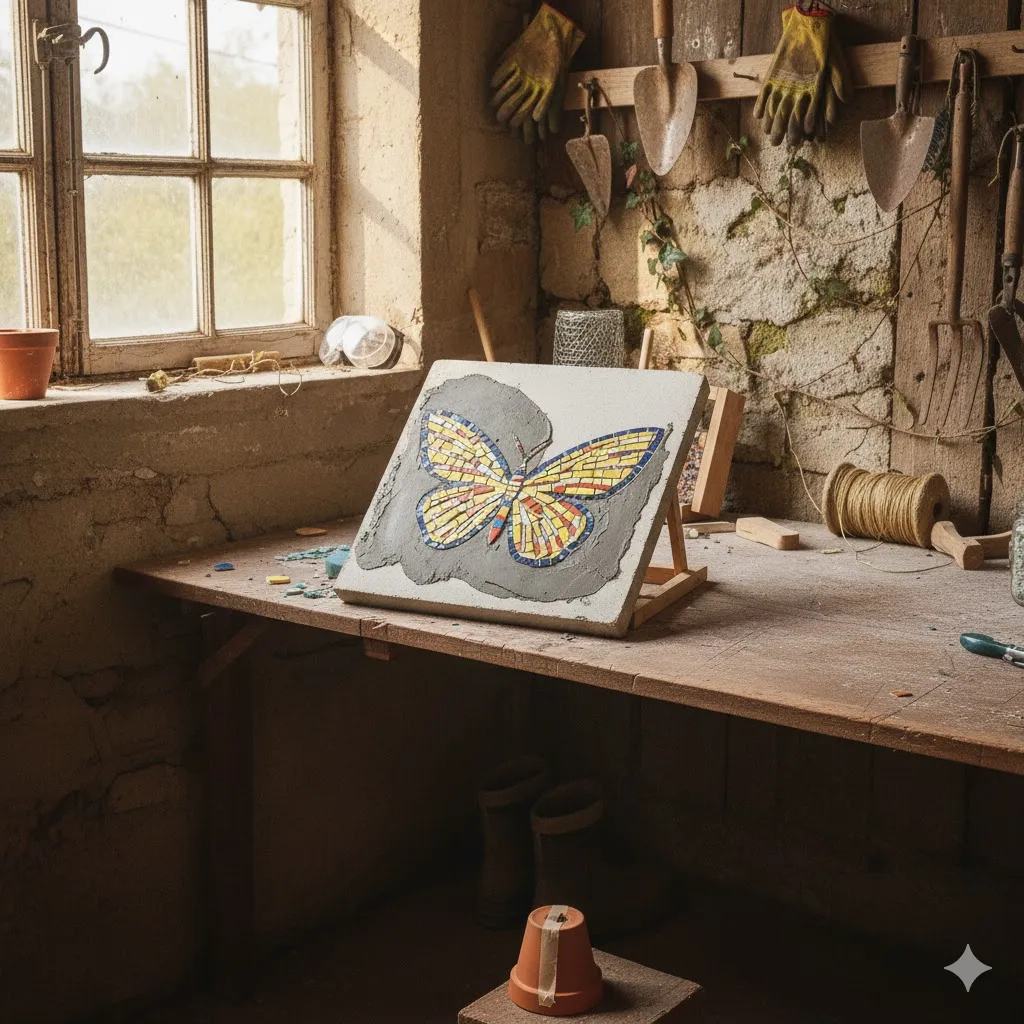
Allow your mosaic to dry for several hours or overnight. This helps the tiles bond firmly to the surface.
9. Fill the Gaps with Grout
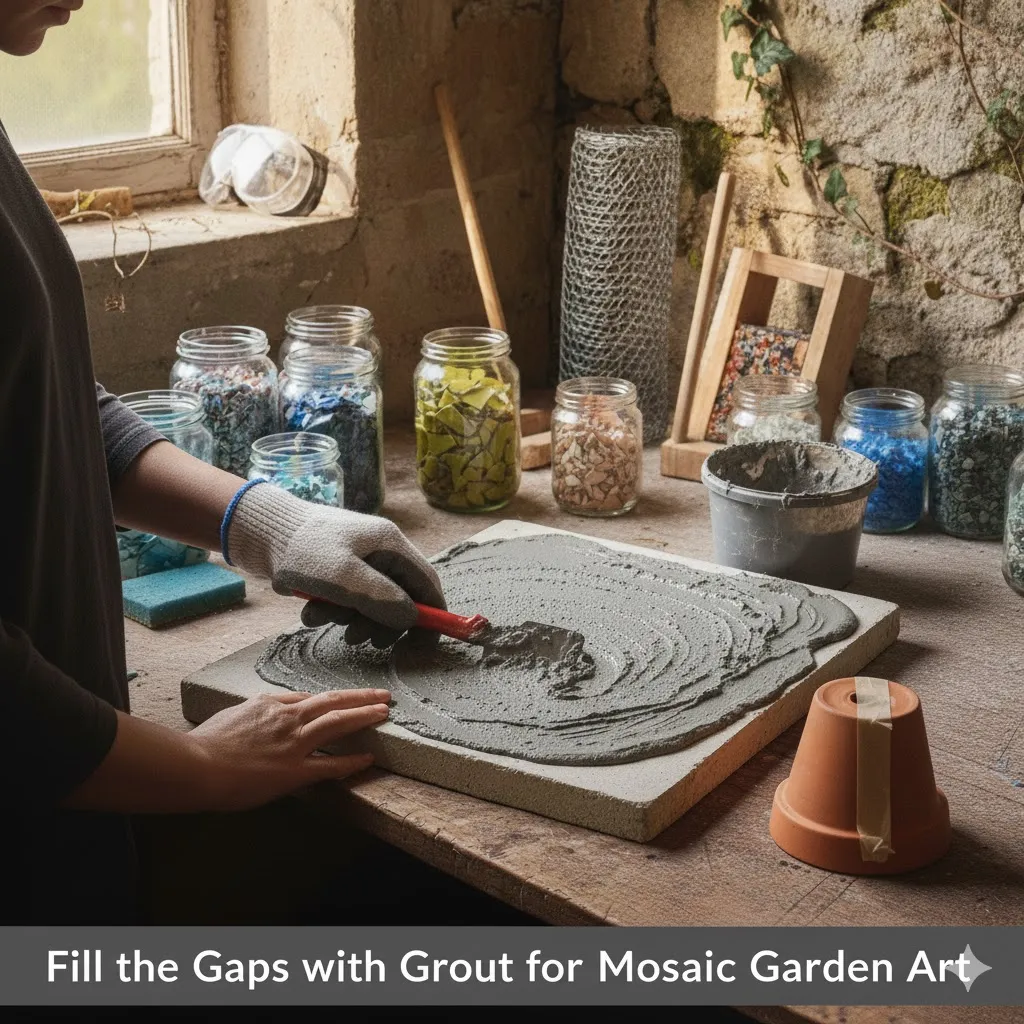
Spread grout over the mosaic to fill the spaces. Use a sponge to wipe away extra grout while keeping the tile tops clean.
10. Seal the Finished Art
Apply a sealer once the grout is completely dry. This protects your artwork from weather damage and makes it last longer outdoors.
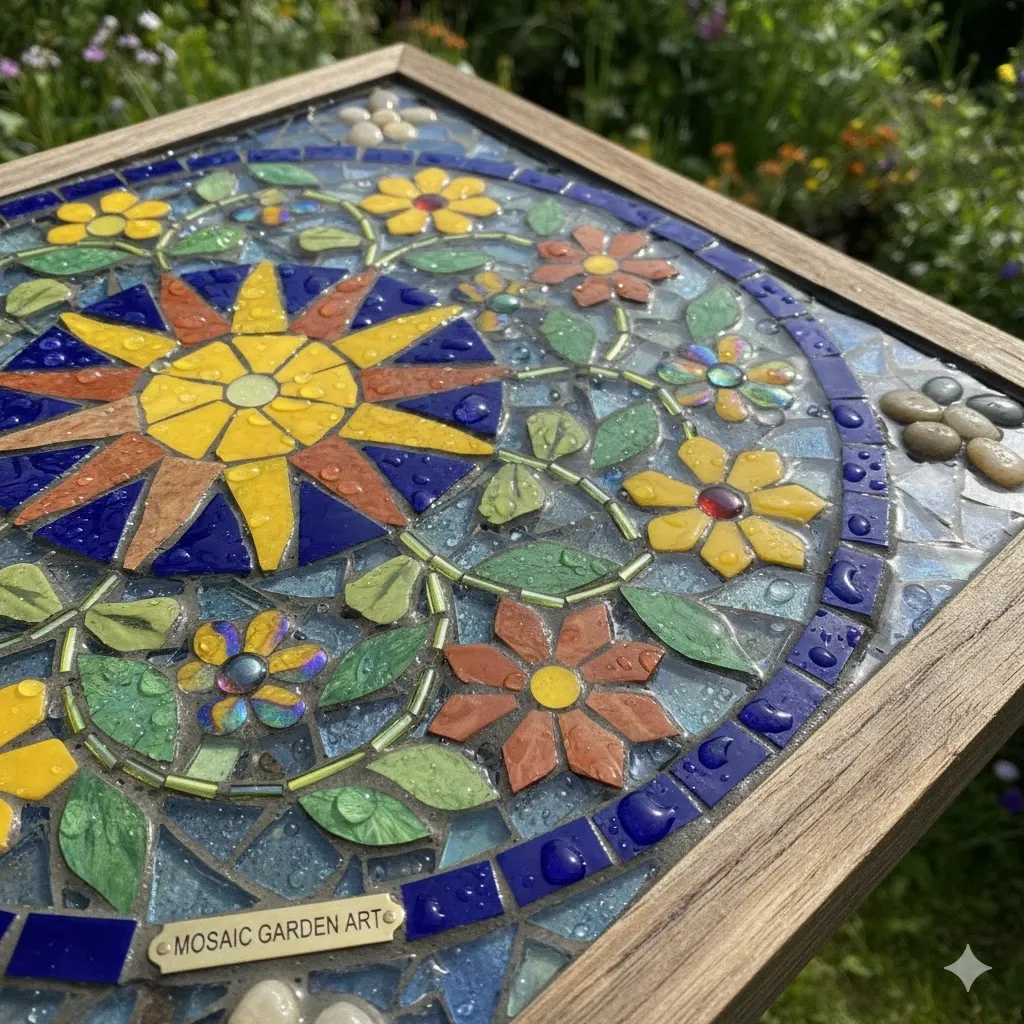
11. Place Your Mosaic in the Garden
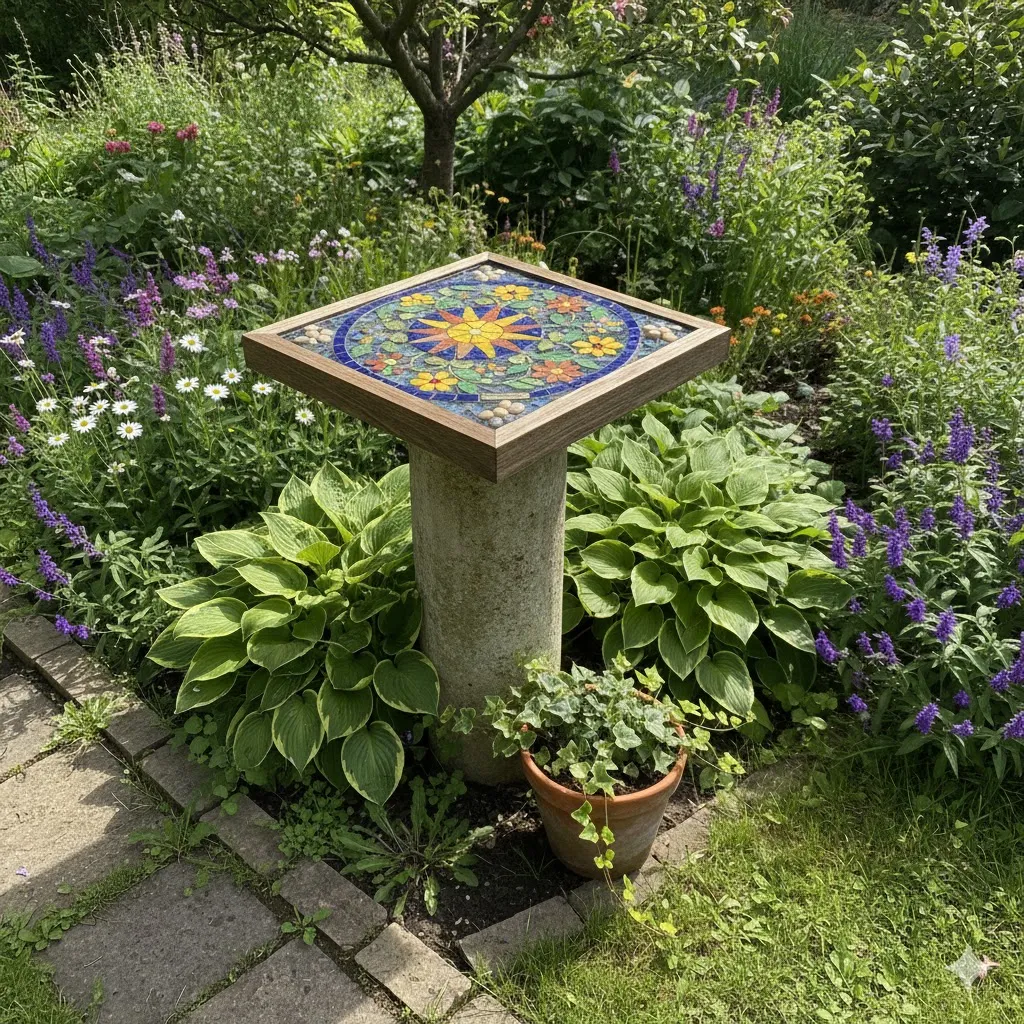
Now the fun part—display your creation! Put your mosaic pot, stone, or board in a spot where it adds beauty and color to your garden.
Conclusion
Mosaic art is a relaxing and creative hobby that anyone can try. With this 11 Easy DIY Guide for Beginners to Make Stunning Mosaic Garden Art, you can bring your ideas to life using simple materials and easy steps. Once you finish your first project, you’ll feel confident to try bigger and more detailed designs. Your garden will become 11 Easy DIY Guide for Beginners to Make Stunning Mosaic Garden Art a colorful reflection of your imagination!